After some balmy days here in England and seeing the poppies coming into bloom, I was inspired to create a mini series of countryside prints.
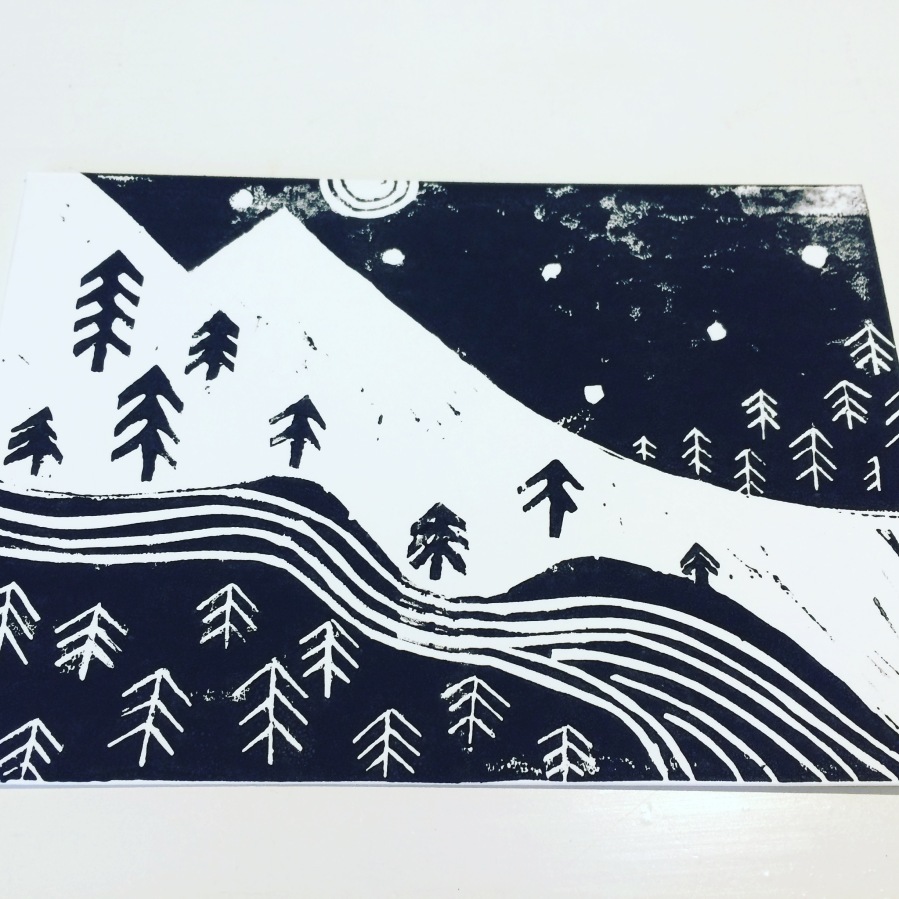
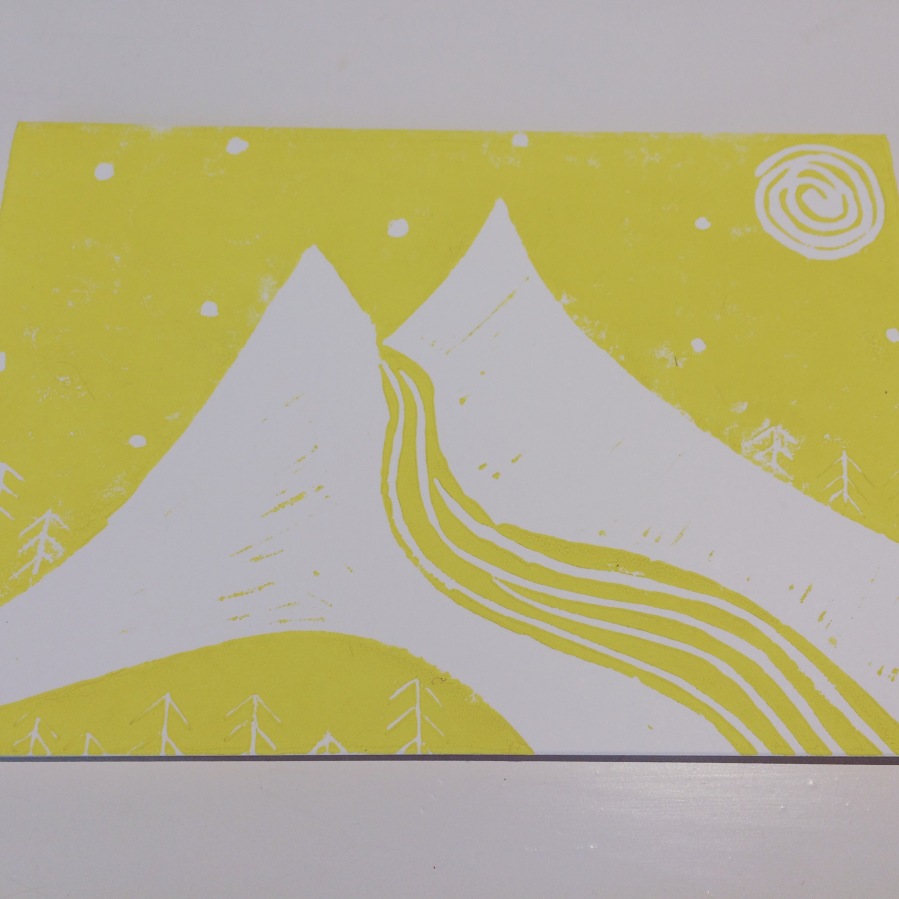
With the reversal of the image in mind, I went for a white design with dark background. For the initial test it was a black and white job but I’d love to see these in a different colour too. Maybe a rusty orange or olive green.
After testing out some cutting techniques I decided to try my hand at some landscapes which involved, duh duh duuuhhhh, curves. Trying to maintain control and around a smooth curve was a little daunting but thankfully the handmade look is popular at the moment!
Art Therapy is a big subject and one I know very little about. What I do know is that, for me, art is a wonderful time to think, escape and digest the happenings of the day.
My Birthday this year was a chance to try out something new and very kindly my family chipped in to get me some Lino Printing materials.
For those who don’t know what Lino Printing is, here is a short video explaining it:
I began with a kit recommended for starters. If you are planning on Lino printing at home then I can recommend the Essdee Lino Cutting and Printing Kit which you can find here.
If you need more water-based ink or blocks you can also find it cheaply through Baker Ross or through Essdee. For a beginner like me thats all I need.
Then its finding an image you like. I decided to use an existing design for my first lino. Something simple and without too many curves. Draw it out in pencil or pen onto a lino sheet. Remember that the image will be reversed and what you cut away will be white and what you leave will be printed.
Once you are happy with your design the fun begins.
It is worth experimenting with your cutters. They all vary in width and depth so try them all to see what effect you get.
Using a hand cutter and a secure surface begin by making small, controlled cuts away from your body. It is easy at first for your hand to slip suddenly as you learn to control the pressure so keep safe!
You might find it helpful to buy a cheap anti slip mat to have underneath your lino.
As you cut don’t be afraid to go deep. Although it makes no difference if you are using cheaper inks they can be more gloopy and sit in very shallow cuts. This is the part to take time over – this lino block can be used again and again to print so its better to get it looking ok now.
After finishing cutting and brushing off any loose bits of lino you are ready to print!
Squeeze a walnut sized amount of ink onto your pallet/tray. You can always add more ink if you need but too much and it can get gloopy.
Roll horizontally and vertically across the ink with your roller until you get a smooth level spread of ink.
Carefully roll the ink onto your lino block. Take your time and make sure the entire block is covered evenly.
With clean hands place your paper (I like to use a thicker cartridge paper for some texture) over the block and drop quickly into position.
Do not move the paper! If you do you will have a fuzzy image. Instead using a flat object gently rub over the paper in small circles. Be sure to rub over the edges of your design.
Then, holding onto a corner of the paper, slowly lift the paper off the linoblock. As it peels away try to keep your movements smooth.
And then: Viola! You have a lino print!
Such a super easy way of making cards/prints for the home or gift tags for presents.